Problem Description
How do I add a cover page to an XPS file?
Solution
This article describes the steps you can take to add a cover page to an XPS file. This assumes:
- you have a document that you want to give a cover page - further referred to as 'file1.xps'
- you have a document that contains the cover page - further referred to as 'cover.xps'
Step 1: open both XPS documents (file1.xps and cover.xps)
Via the file menu you can select the 'open' menu item which allows you to open files. Open both file1.xps and cover.xps: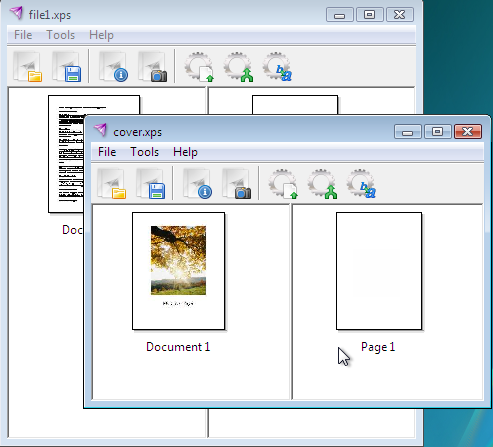
Step 2: open the merger
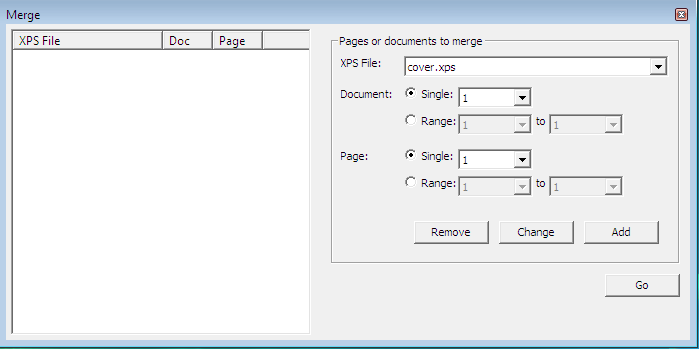
Open the merge tool, which you can find in menu under 'Tools>Merge...', or by clicking on the following icon:
This will bring up the configuration window of the merge tool:
Step 3: select the cover page, and add this to the list
Assume you the cover page you want to add sits in the cover.xps file as the first page. Then you must configure the merger to select the cover page and add this to the merge list: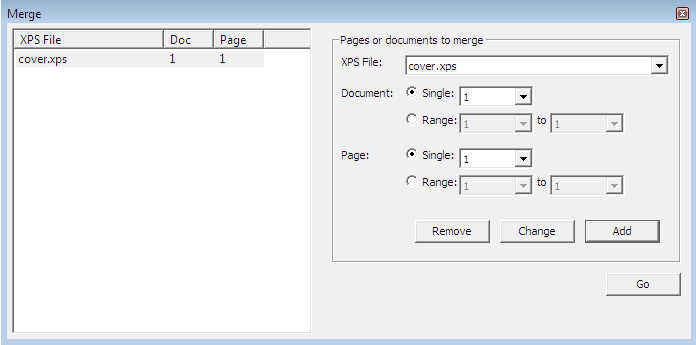
Step 4: select the main document - file1.xps - and add this to the list
Then you must configure the merger to select all the pages of file1.xps and add this to the merge list: This gives you the correct order in the merge list, you can now run the merger by clicking 'Go'.
The result will be an xps file with an extra first page, the cover page.
This gives you the correct order in the merge list, you can now run the merger by clicking 'Go'.
The result will be an xps file with an extra first page, the cover page.
Step 5: inspect the result (optional - only on Windows)
You can now take a look at the result by clicking on thefollowing icon:

This will open the XPS viewer with the merged result:

Step 6: save the result
You can now save the result via the menu item 'File>Save...', orvia clicking icon:
