Inspecting XPS files with the Inspector tool
This section describes the various ways you can inspect an XPS document: look at the structure, the various resources like images and fonts, and file attributes.
Every opened file in NiXPS can be looked at via an Inspector window. To open the Inspector window for the current active file, you can either:
- Use the menu: Tools>Inspector
- Use the toolbar: click on

- Use the shortcut: CTRL-I (Windows) or Apple-I (MacOSX)
note: The inspector shows you information about the currently selected page or document. This means that if you click on a document in the document browser, you will get all the information about all the pages in the selected document. If you select a specific page in the page browser, the inspector will only give you information about the currently selected page.
1. Fonts

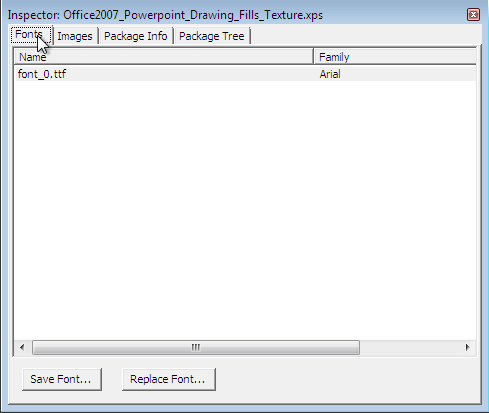
The first tab gives you an overview of the fonts that are used in the XPS file. The first column shows the filename of the font as it is known in the XPS file. The second column gives you the name of the font. The last column shows if the font is flagged restricted or not.
Save Font... - allows you to save the currently selected font to a file.
Replace Font... - allows you to replace the currently selected font by a new one, which you need to provide as a file. Please note that this must be an OpenType font; the software will check this and reject a font that is not valid.
note:Obfuscated fonts are de-obfuscated on the fly. You will see the correct name of the font, and on extraction it will be de-obfuscated, before being saved. Also, if you replace an obfuscated font, the software will obfuscate the new font.
2. Images

Similar to the fonts tab, the image tab gives access to the image resources that are tied to the currently selected document or page. At the bottom of the dialog you'll see a preview of the image.
Save Image... - allows you to save the currently selected image to a file.
3. Package Info

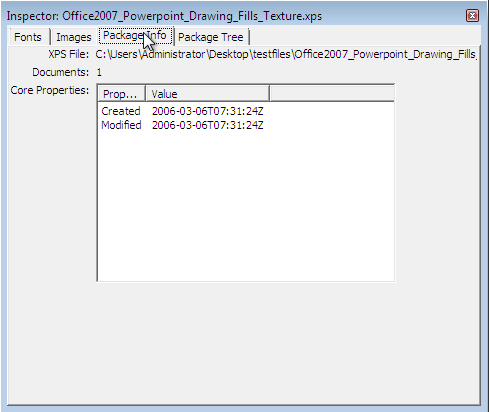
This tab gives information about the active XPS file. It displays the filename, and the amount of documents that are in the XPS file. The list contains the core properties that are present in the XPS file; these contain information like author, last modified timestamp, etc...
4. Package Tree

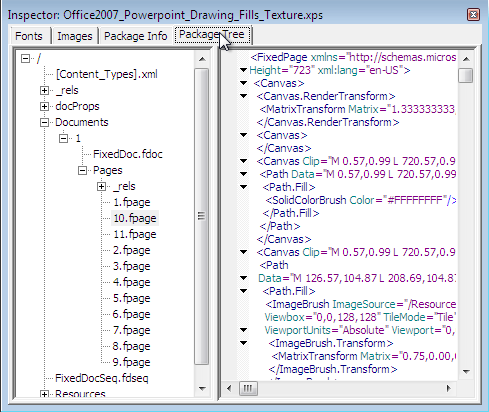
The package tree gives you full access to the raw structure and XML that makes up an XPS file. On the left you can select a part in the XPS file, and on the right it will display the contents of that part (in case it is a XML based part). It is also possible to edit the XML directly. Alternatively, if you click on a document or page in the respective browser, this tree control will automatically navigate to the corresponding part.
